How to build a workshop where nothing goes missing
Five steps, drawn from two decades on the tools. Organize the wall, sort the hardware, and every future job starts faster.
Map the wall before you mount
Stand back and group tools by how often you reach for them. Daily tools go at eye height, occasional tools above and below. A pegboard turns that map into a visible system you can re-arrange any time.
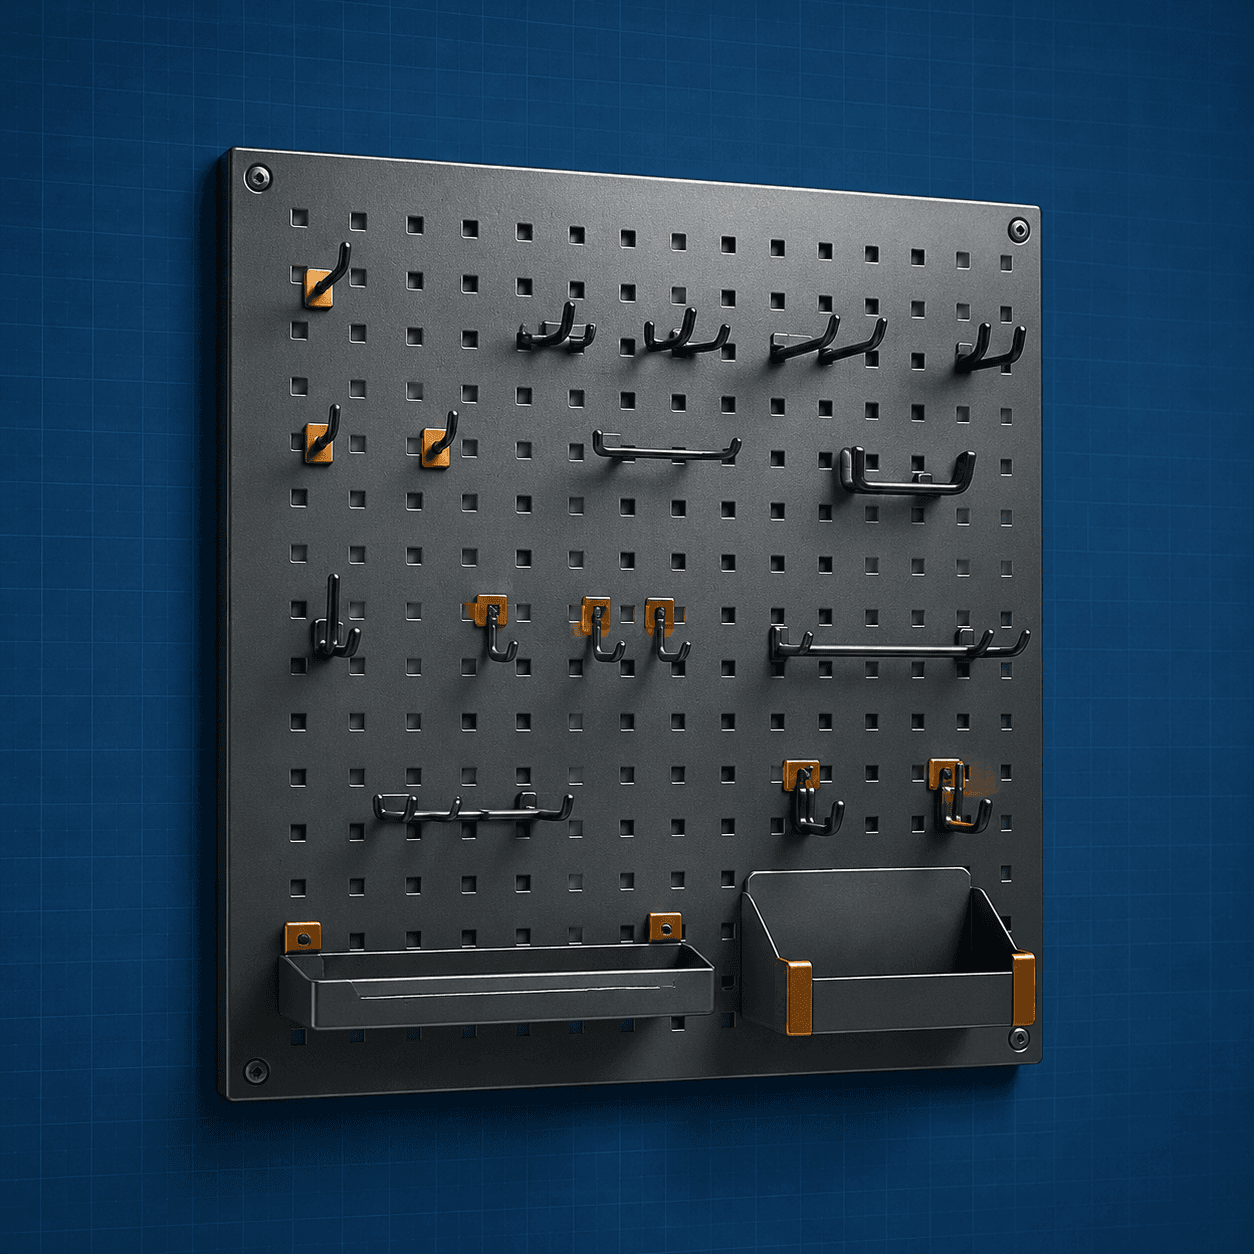 RecommendedWall Pegboard Organizer Kit
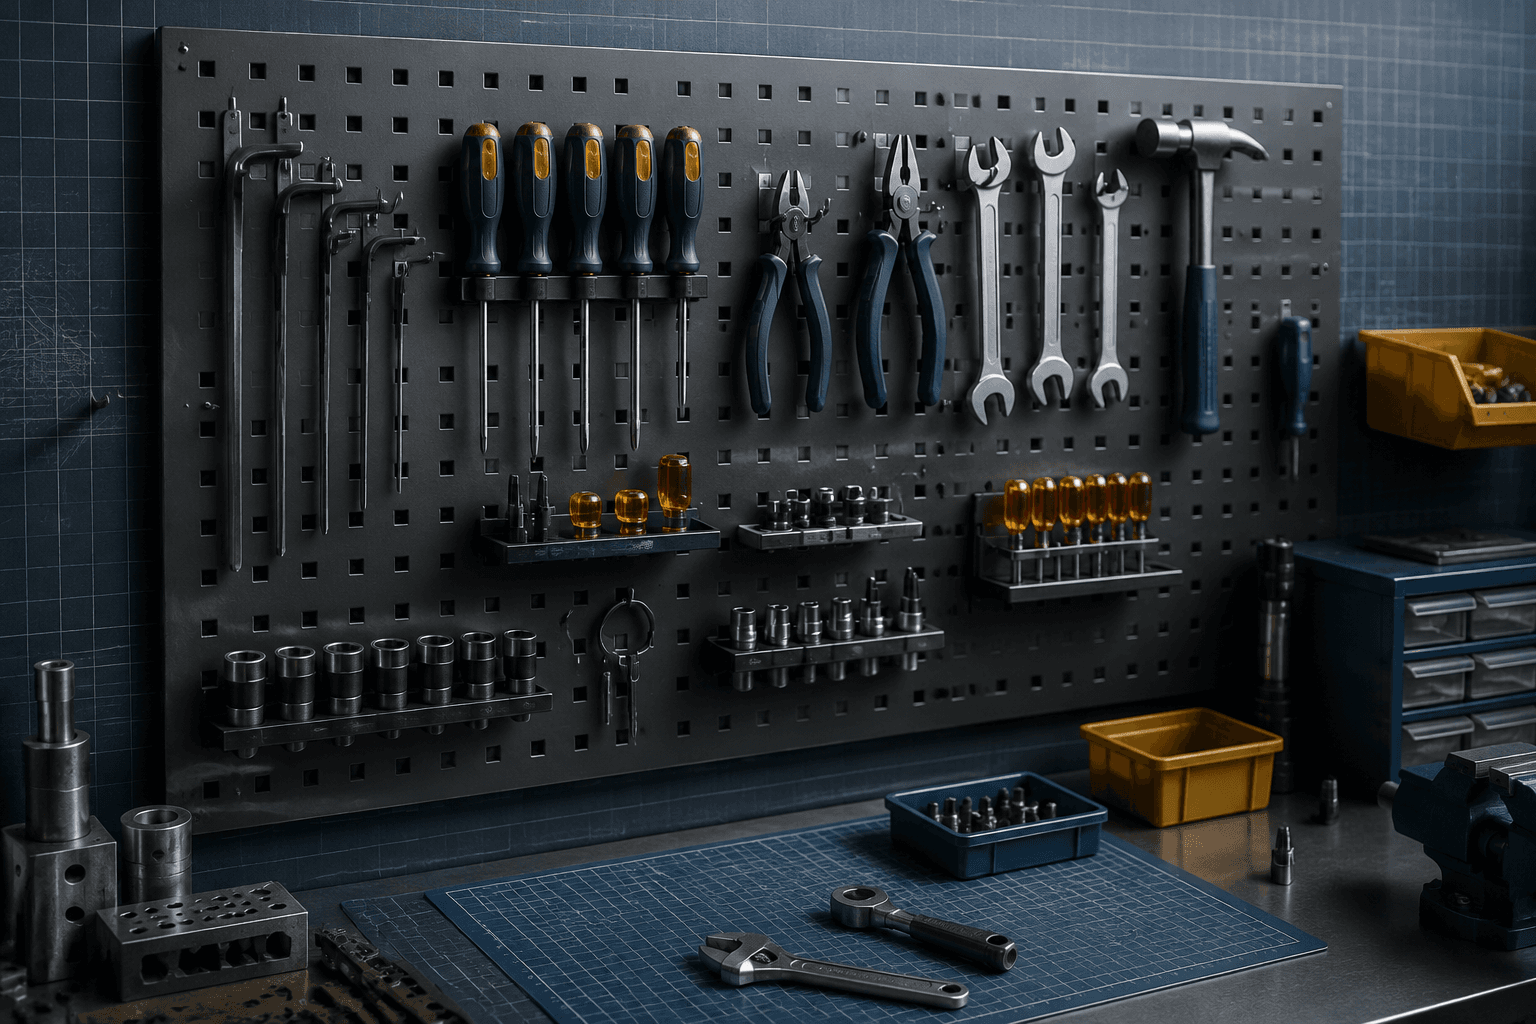
Give every tool a silhouette
Shadow-board foam in a drawer means a missing tool announces itself — the empty cut-out is impossible to miss. Trim the high-contrast layer to each tool and you will never end a job a screwdriver short.
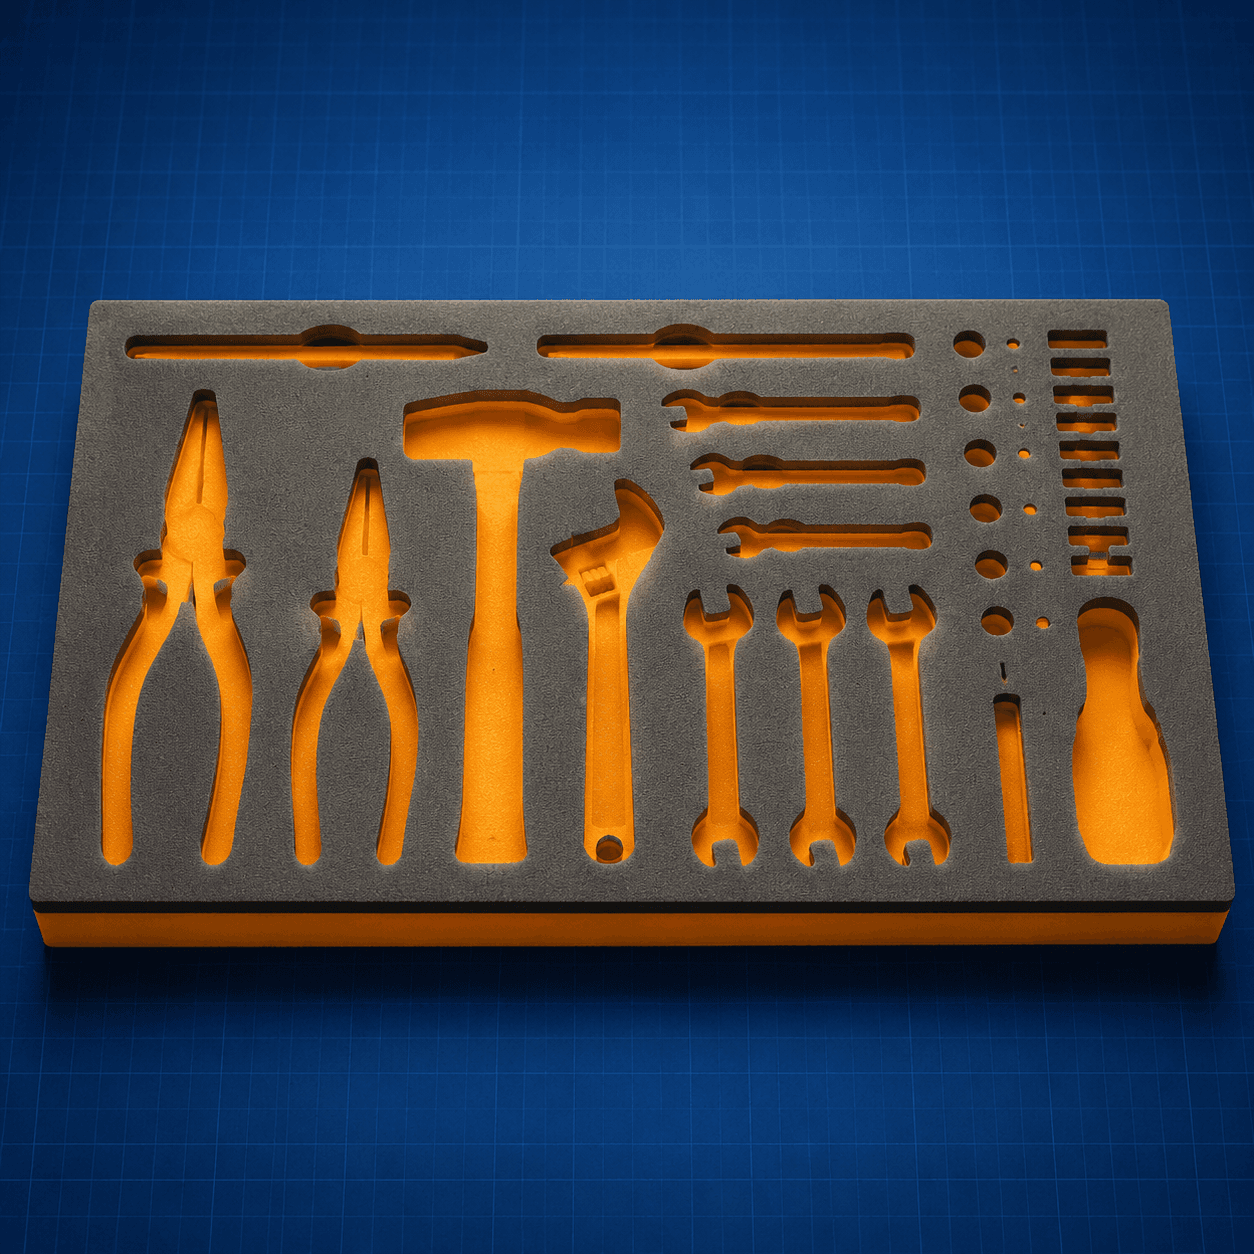 RecommendedDrawer Tool Foam Insert
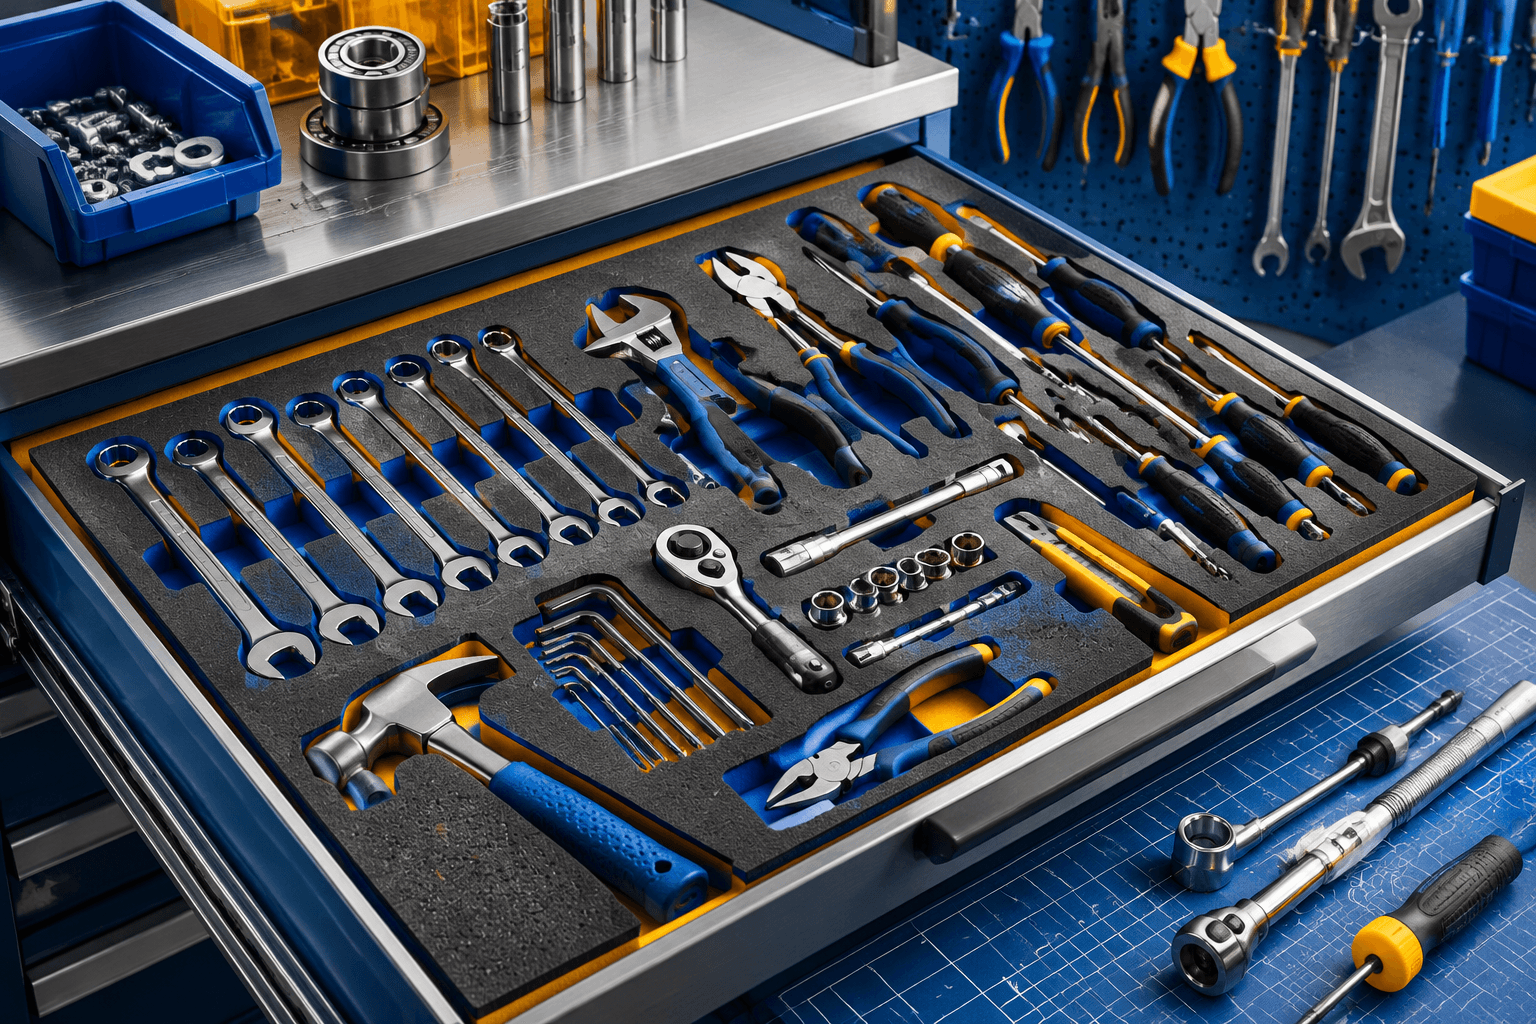
Sort hardware by size, not by bag
Loose screws in a drawer cost you minutes every repair. Clear stackable bins and a labelled assortment box turn a guessing game into a glance. Sort once; save time on every job after.
 RecommendedStackable Hardware Organizer
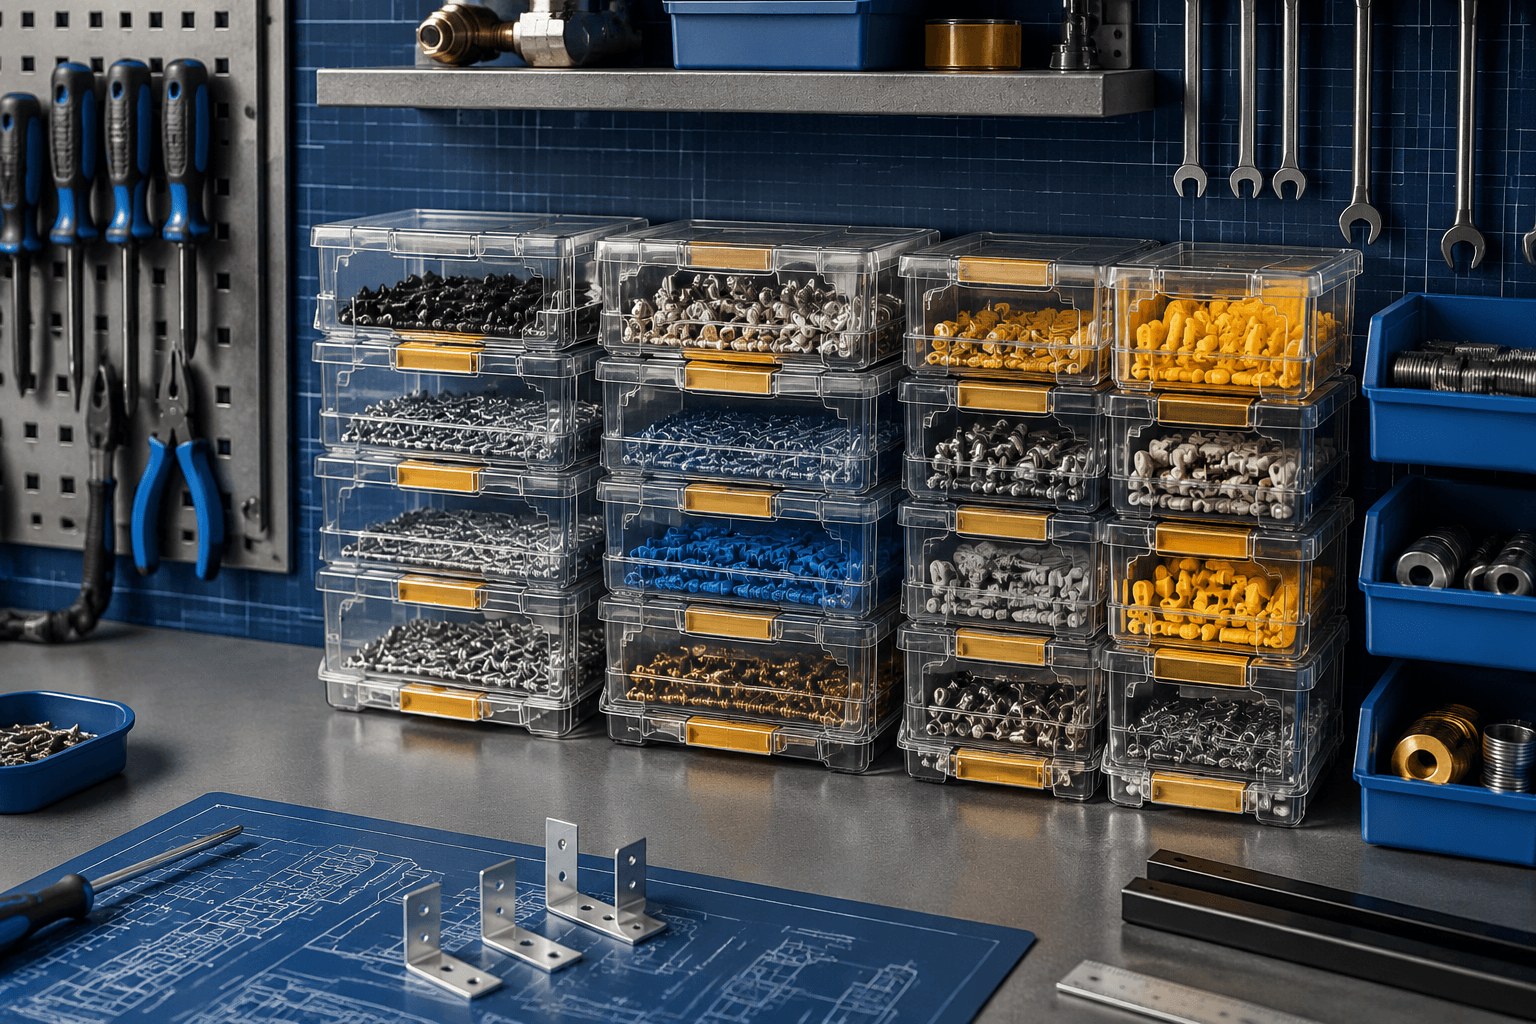
Lift the bulky stuff off the floor
Hoses, cords and ladders belong on the wall. A hook rail spreads the load and clears the floor, so the garage stays a workspace instead of an obstacle course.
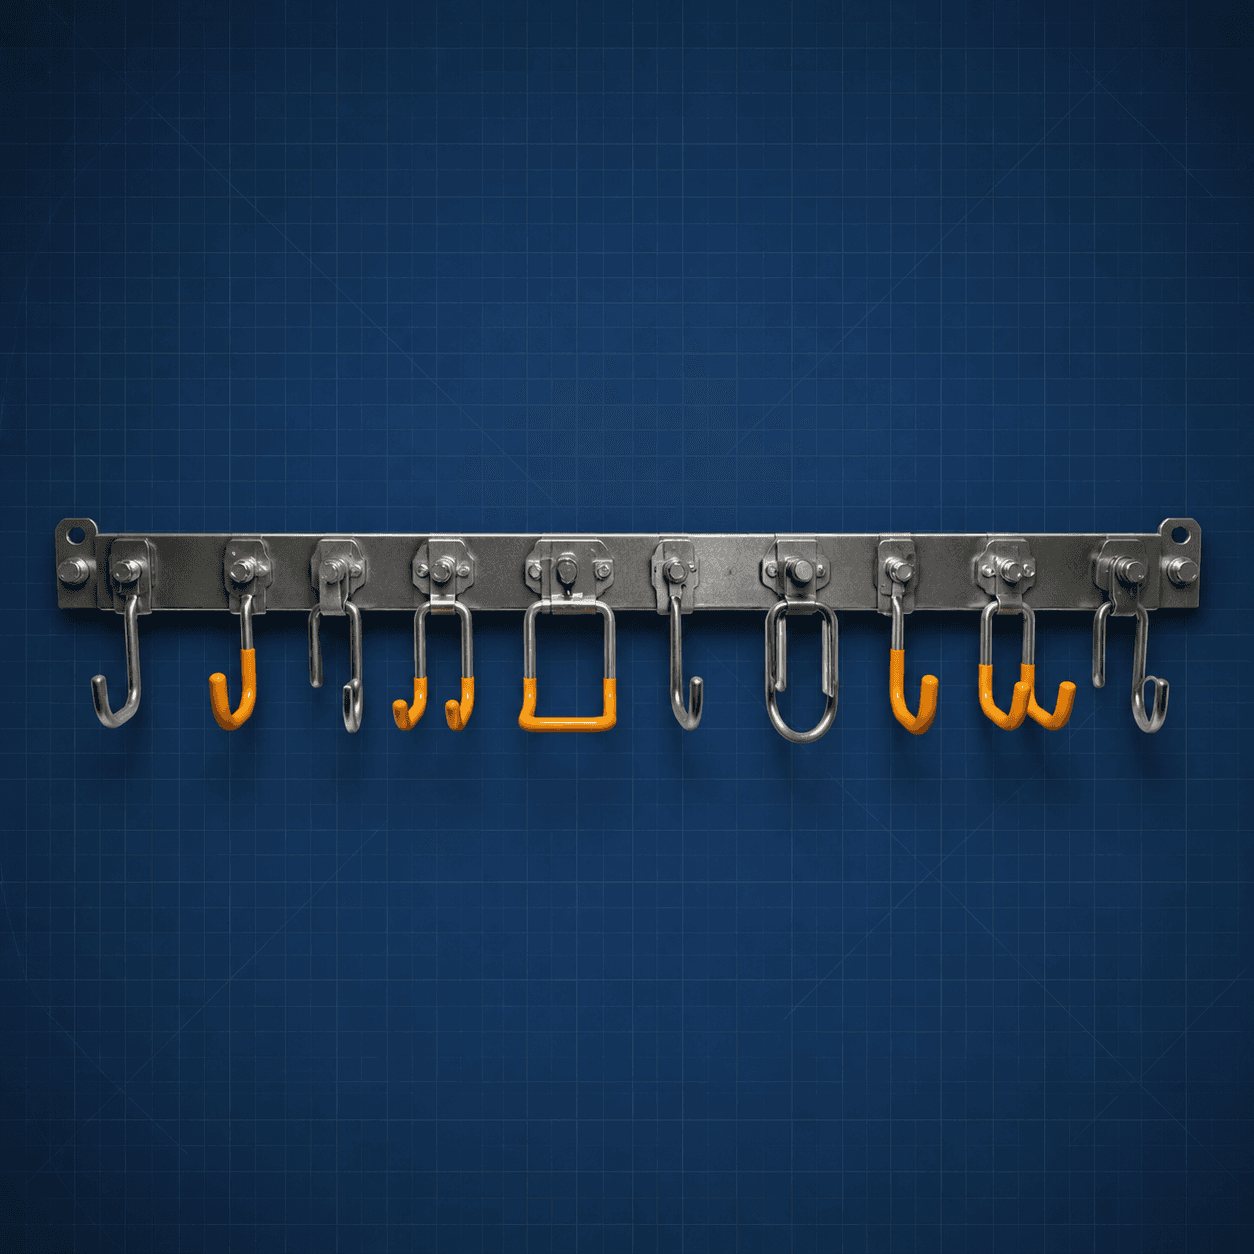 RecommendedGarage Hook Rail Set (10)
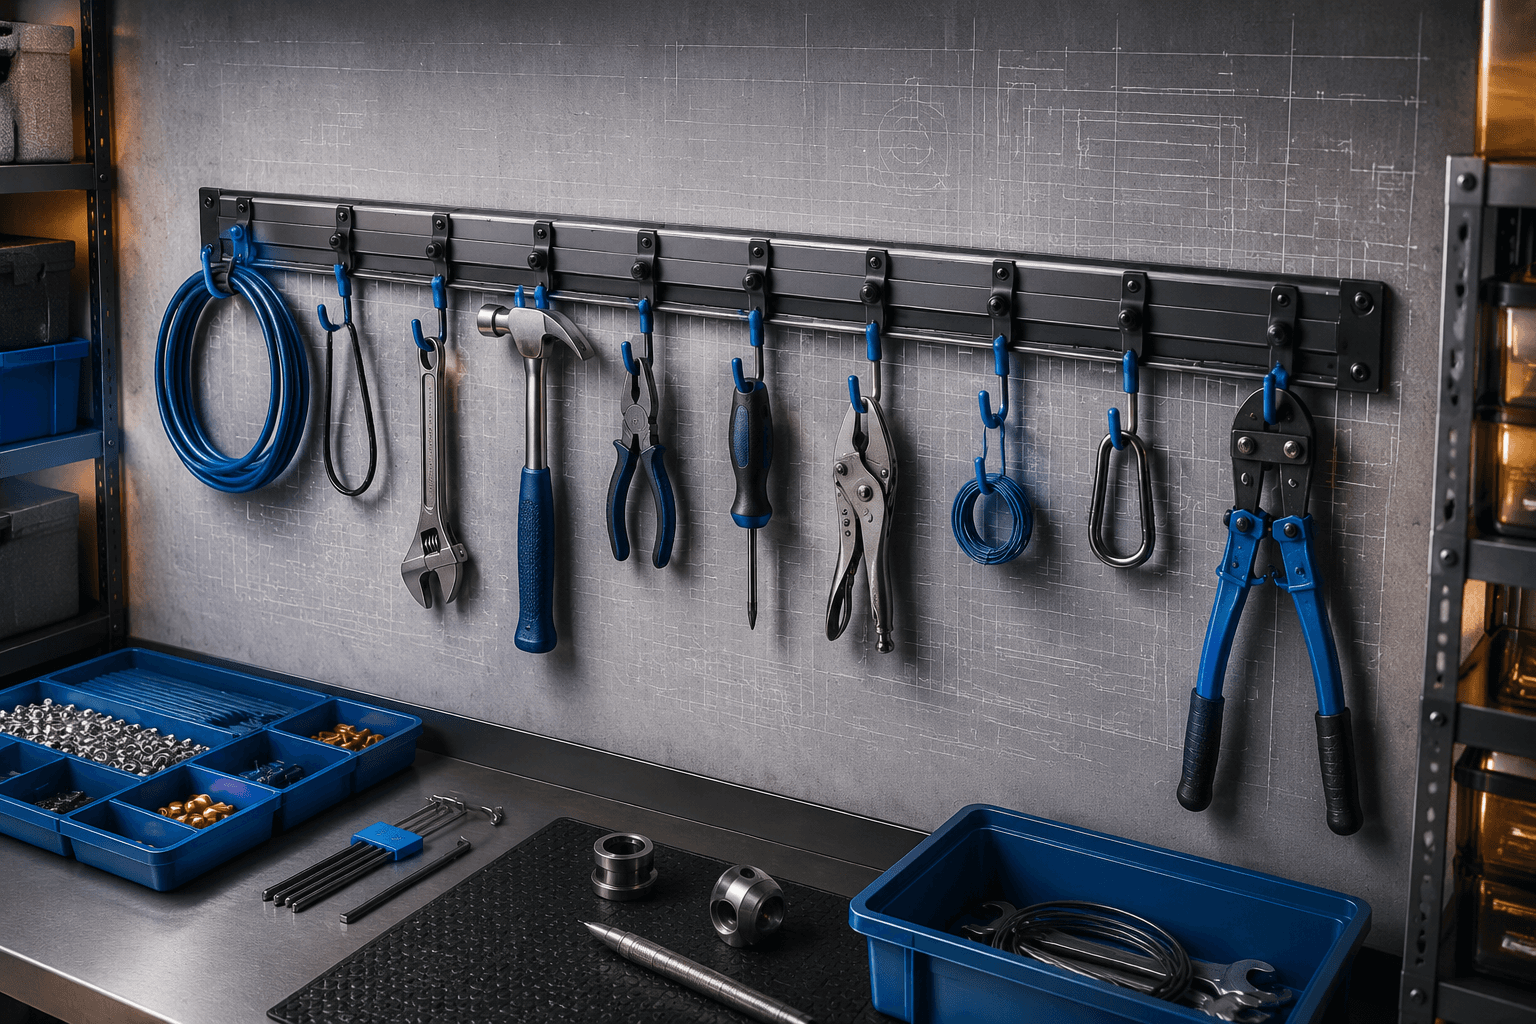
Keep a portable kit packed
A waxed-canvas roll holds a working set in order and travels to the job. Pack it the same way every time and muscle memory does the finding for you.
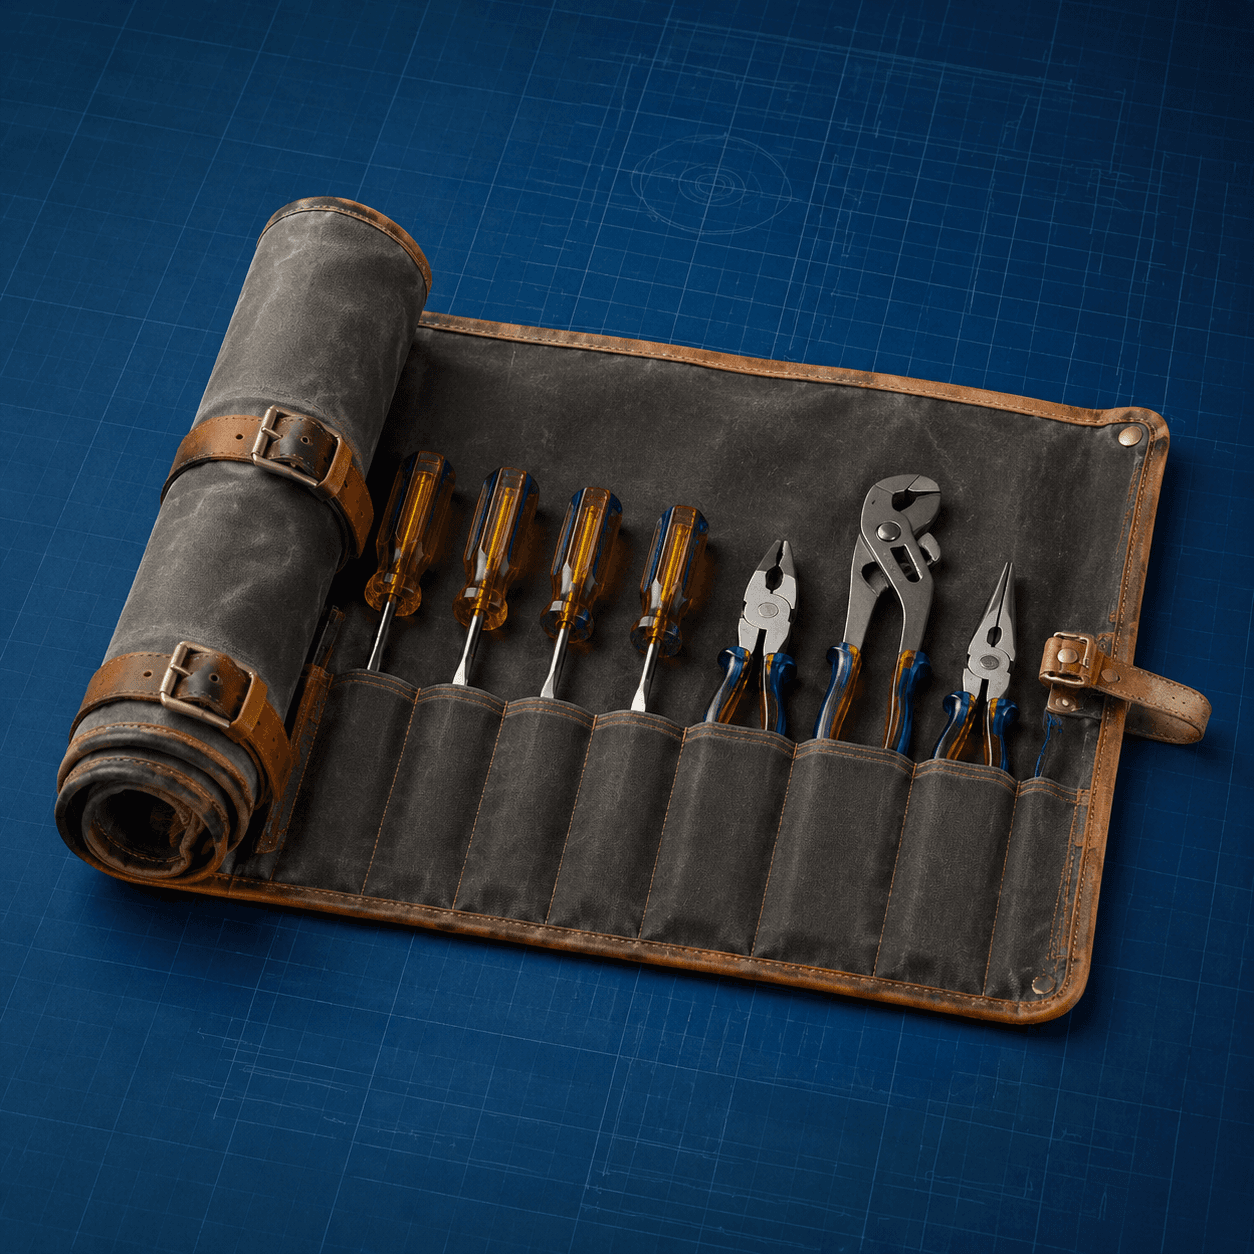 RecommendedTool Roll-Up Pouch
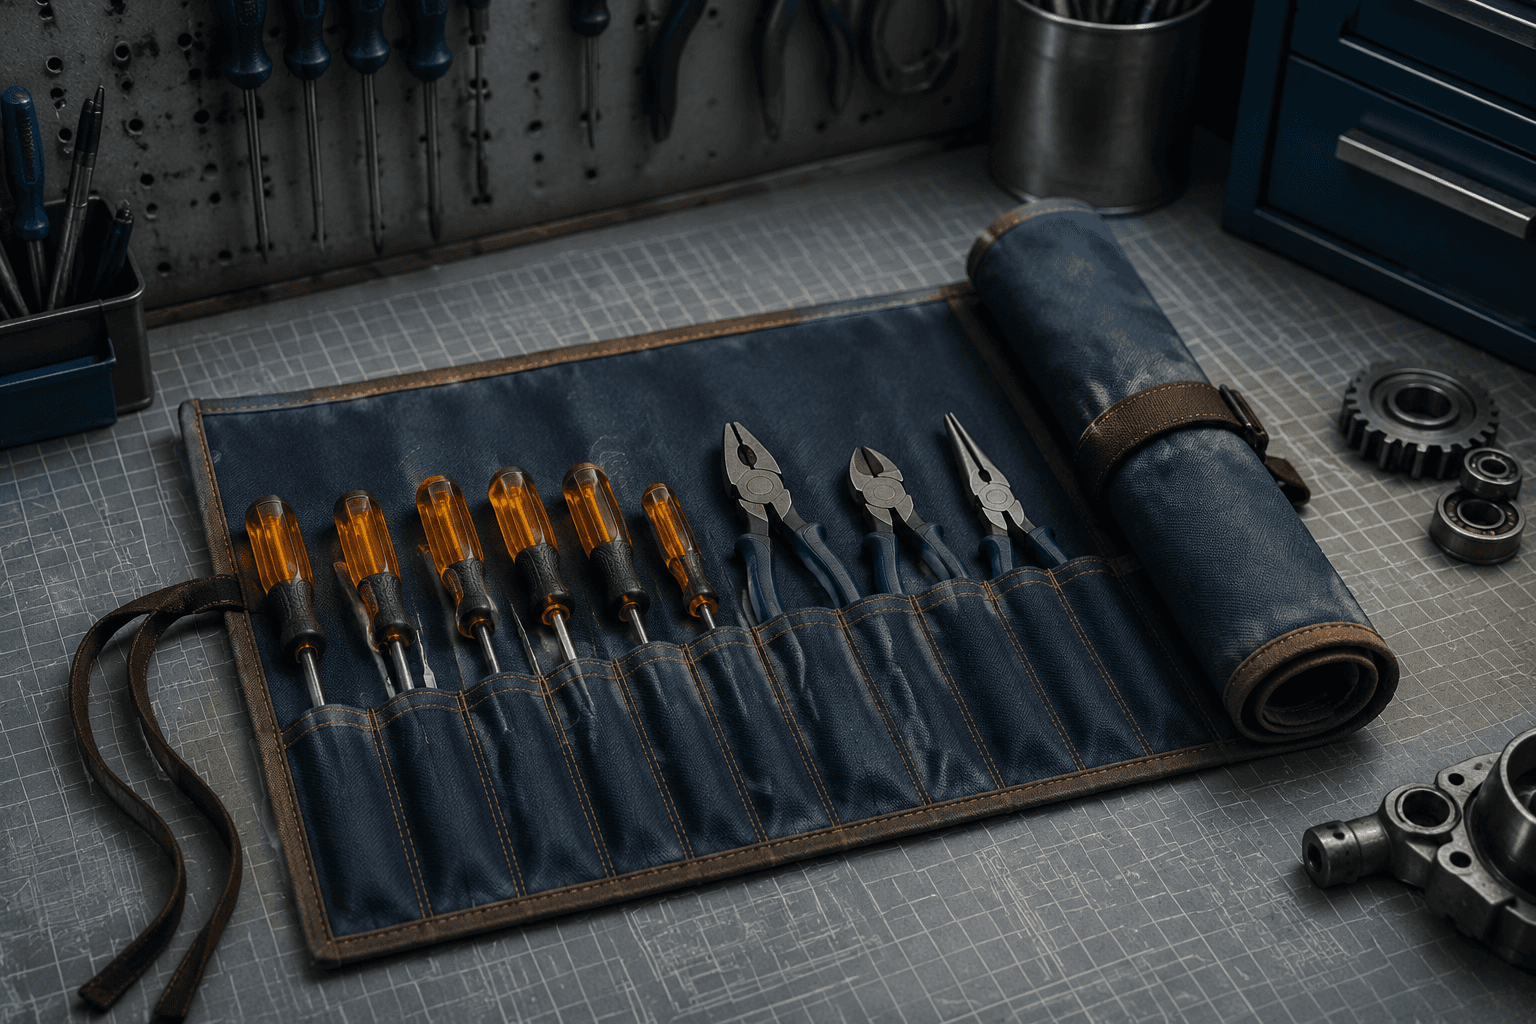
Start with the bundle
The Master Bundle covers steps 1, 3 and the core kit in one go.